
Because WordPress is awful but I haven’t escaped it because paying ~$24 year to WordPress.com to patch it isn’t so bad. But of course karma caught up to me and I tried to change something and yaddi yaddi yadda, I’m tired of WordPress. So a migration is likely, or maybe not. Inertia is a helluva drug.

Pet Simulator 99 Shiny Relics – Update 5
- #75 Haunted Forest
- #77 Haunted Mansion
- #78 Dungeon Entrance
- #79 Dungeon
- Advanced Digsite
- #80 Treasure Dungeon
- #81 Empyrean Dungeon
- #83 Cotton Candy Forest
- #84 Gummy Forest
- #85 Chocolate Waterfall
- #86 Sweets
- #87 Toys and Blocks
- Lucky Box Obby
- #88 Toys and Blocks
- #89 Theme Park
- #91 Cloud Garden
- Advanced Fishing in #92 Cloud Forest
- #93 Cloud Houses
- #95 Heaven Gates
- #97 Heaven Golden Castle
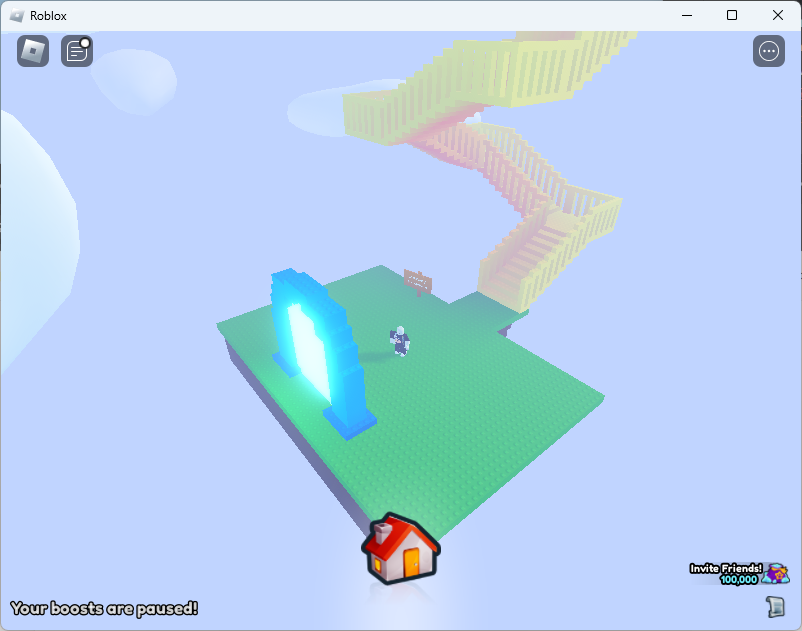
- Stairway to Heaven “Entrances”
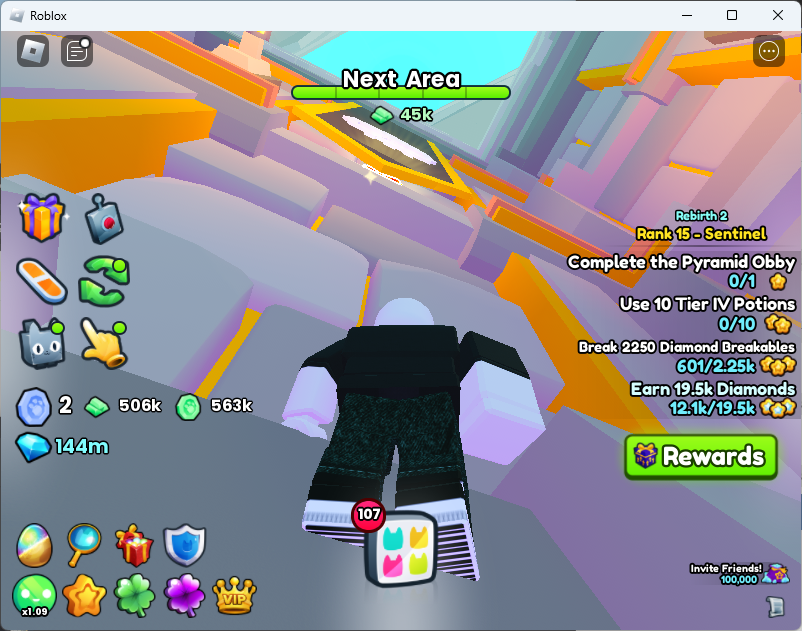
There are 20 new Shiny Relics to find as part of Update 5 of Pet Simulator 99. Collectively that makes 85 total available to collect. The first 65 are found in Areas 74 Witch Marsh and below. Here are the locations of the Shiny Relics for Area #75 Haunted Forest through Area #97 Heaven Golden Castle. There are not any Shiny Relics in Area #98 or Area #99.
#75 Haunted Forest

#77 Haunted Mansion

#78 Dungeon Entrance

#79 Dungeon

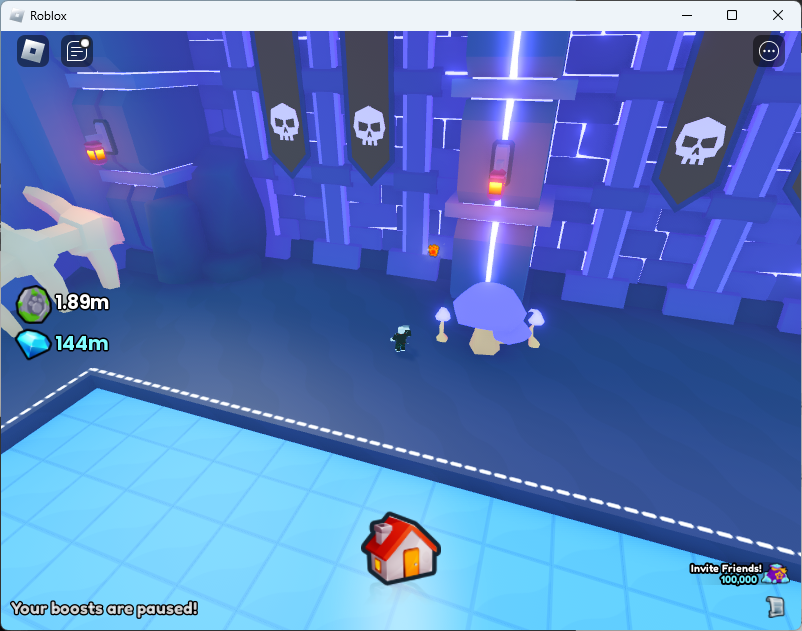
Advanced Digsite
#80 Treasure Dungeon

#81 Empyrean Dungeon

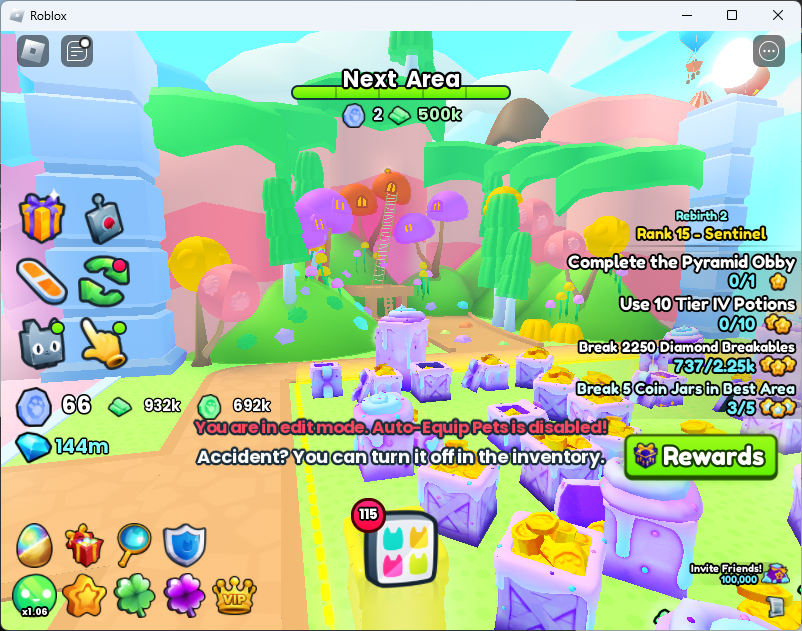
#83 Cotton Candy Forest

#84 Gummy Forest
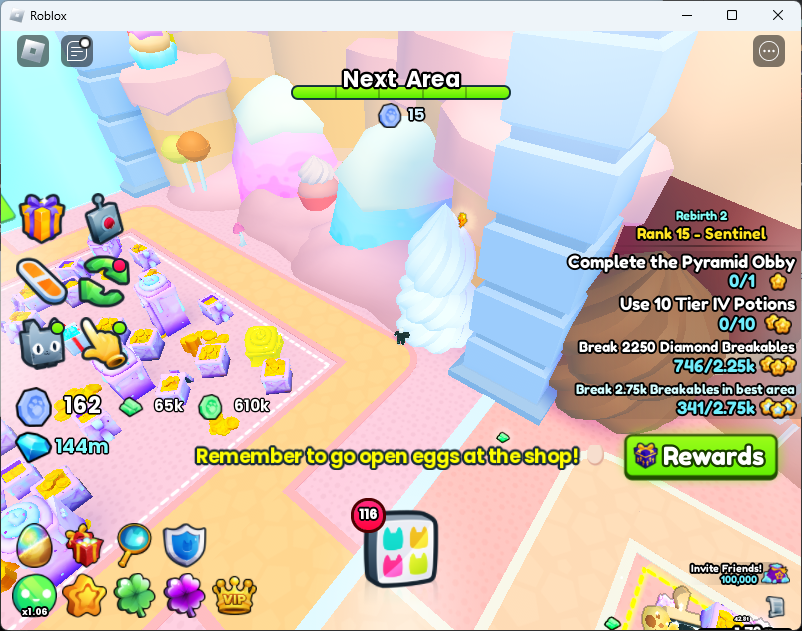
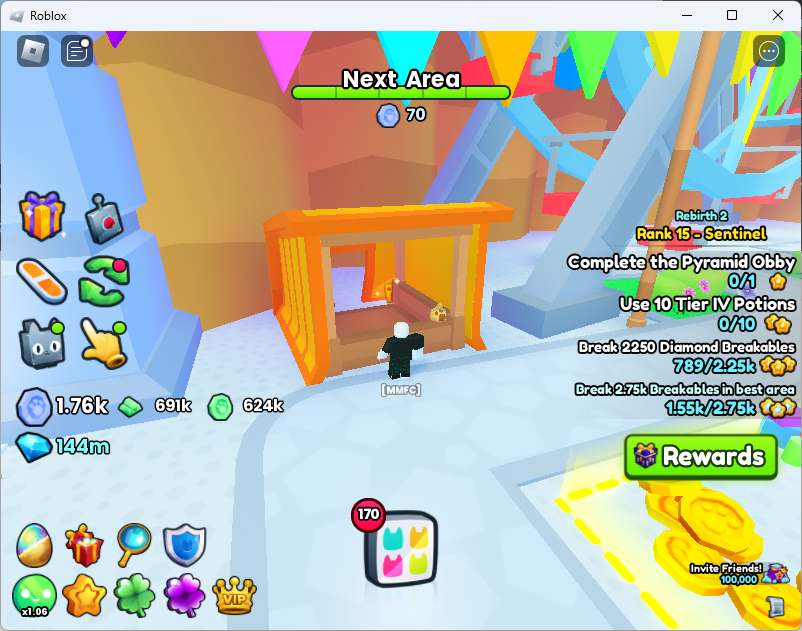
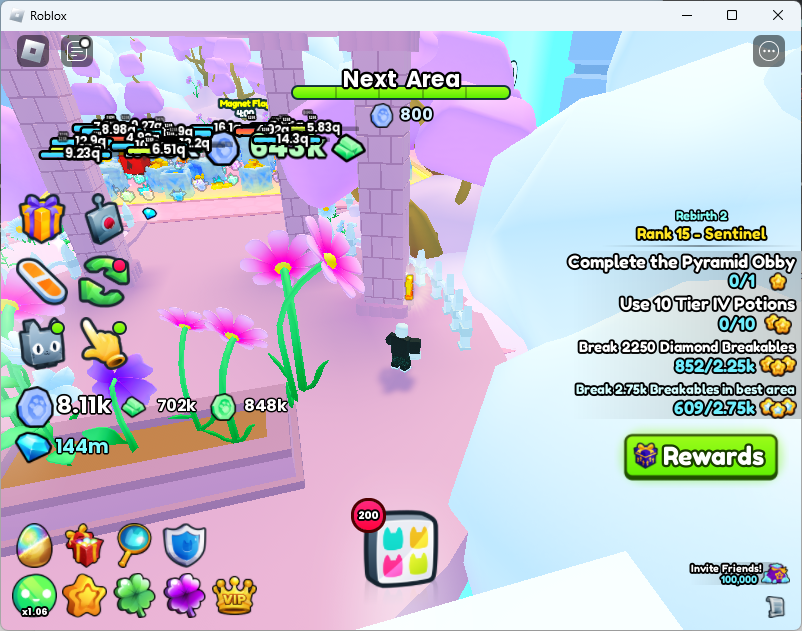
#85 Chocolate Waterfall

#86 Sweets
#87 Toys and Blocks

Lucky Box Obby

#88 Toys and Blocks
#89 Theme Park

#91 Cloud Garden
Advanced Fishing in #92 Cloud Forest

#93 Cloud Houses


#95 Heaven Gates

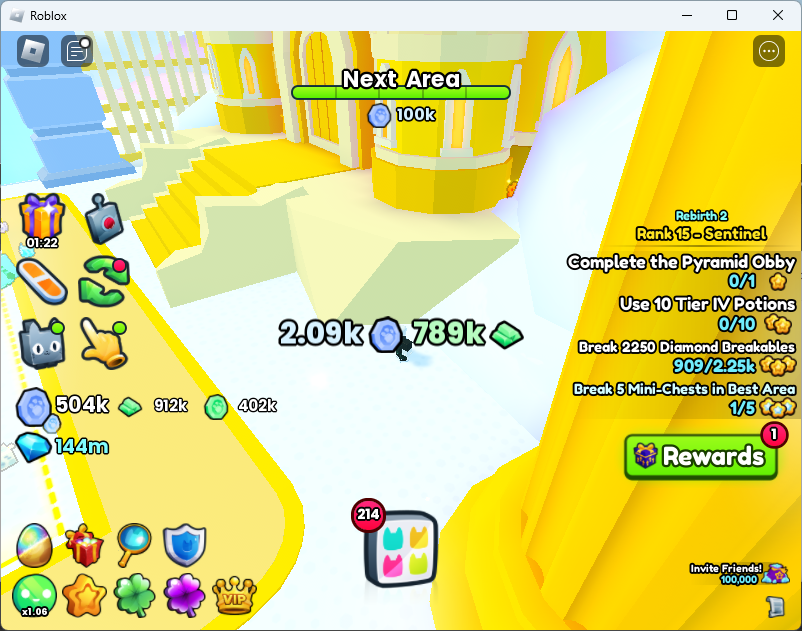
#97 Heaven Golden Castle
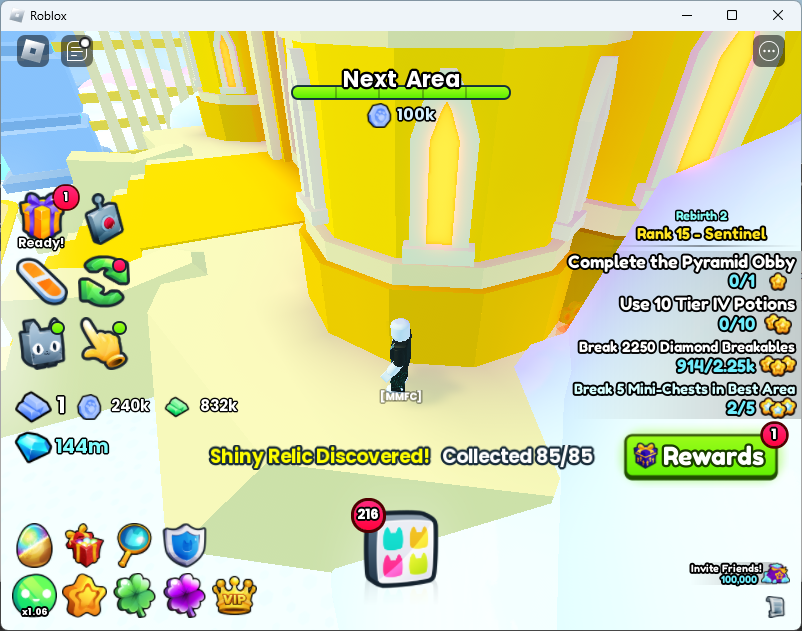
Assuming you had already collected the previous 65 in the Areas up to #74 Witch Marsh, you will now have all 85.
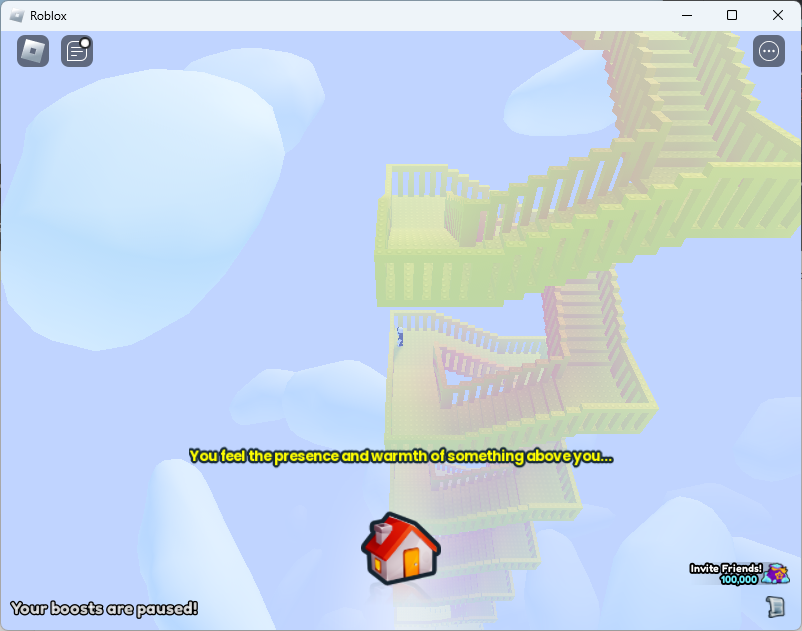
Stairway to Heaven “Entrances”
“I wonder if there is anything at the top.”
“Keep Going!”
“The view must be amazing.”
“You’re making great progress. Maybe. Who knows?”
“Okay, I’ll be honest. You’re wasting your time.”
“Is it determination or stubbornness that fuels your ascent.”
“Do you hear that? It’s the sound of endless climbing.”
“What if the real treasure is the friends you made along the way?”
“You feel the presence and warmth of something above you…”d
Messages you receive while climbing the Stairway to Heaven.


Don’t climb it. Just exit. Apparently there is a 1 in 1 million chance to get a huge. So like 55 hours to break even climbing. I climbed for about a two hours. Nothing to see.
If you really want to reach the stairway, you can fall out of the maps in these areas.
- In the Advanced Digsite you can jump up the walls and jump off the side of the map.
- On the right side of #91, Cloud Garden. Walk into the waterfall on the right side in the clouds to reach it.
- On #99 Rainbow Road you can fall off the map on the left side of the rocket ship.
YAML pipe dash what?
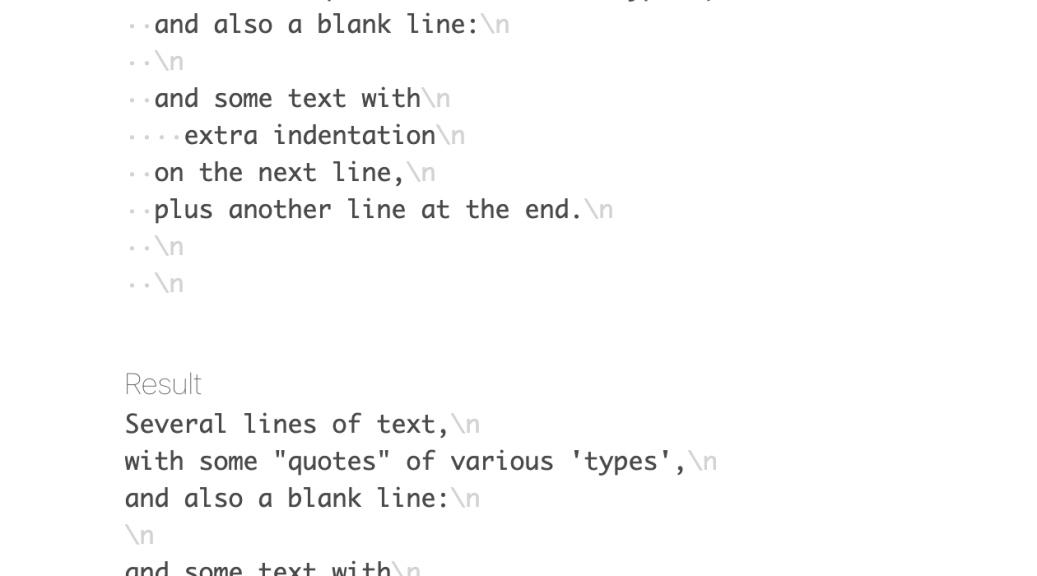
I was looking at some GitHub actions and noticed a literal, pipe |, with a dash, -, and had no idea what it meant. After a bit of searching, I found YAML Multiline which showed the effects of the feature when making multi-line strings. I.e.run: |-
vsrun: |
The dash is the block chomping indicator which lets yaml know if it should keep the newline at the end of the multi-line string. If you chomp it strips the new line. If you just use the pipe, it’ll contain the last new line.
Now does it really matter in GitHub actions? I don’t really think so. Most shells will strip the last newline character of a command.
So there you go. Pipe dash strips the last end line character of the multiline lateral command.
systems
make em simple.
Spells AI
Howdy Everyone. I trained machines to predict Team Fortress 2, TF2, spell prices. I published the code at my joekiller spells repo. Don’t forget, you can get Splack, spell listings crack, at https://discord.gg/BSSrHRd.
My discord has nearly every spell listing since April 2022. It predates the backpack.tf websocket service and is sophisticated like your mother.
Check out couter.tf tf2 spells counts and counter.tf post life tf2 spells counts to have a better idea of how rare a spelled item is.
Hidden State
Oh Hi internet. I made the postcasts with the podcats work again. Don’t thank me all at once but remember, this is fucking MYSPACE TIME. FUCK FACEBOOK.
Howdy all y’all.
Did you know that a Large Language Model is simply a multidimensional forward and reverse dot product matrix of the probability of something will follow something else? The model simply says what the next word token will be based on the last word tokens where the relationship is modeled through “96 hidden state transformers”. The model is generated by processing the relationship the current symbols of their step (0…95) related to all the others at that time creating a fuzzy forward and reverse relationship to all the other next likely tokens in the language vs all other tokens. Each token path is carved and traced via reinforcement training that says, the next word in this sentence makes…
Since it’s been a while. Hi y’all.
CRB JOEKILLER PODCAST REPOST
- You Can Do iT!
- Crazyredbeard and JoeKiller go at it in the podcast part deux
- Peepin out the window
- Fore!
- Five Times Half Shack
- Post Goal: Modified
Talking about hidden state. What is the additive combination of everything of us but our input queries, our understanding, and our context?
Want less? Nah. You cannot oversimplify the fact that we are more. We are the combination of all the existence there is and then are composed of all that there will be. Make your channel and path.
Debugging NodeJS Traffic on Windows
This article outlines the steps taken to sniff and review SSL traffic of a NodeJS application I was working with. It covers setting up the intercept using Charles Proxy. Links for alternative means are included as well. The approach is similar for any proxy tool. The reason I outlined this is to give an overview for TF2Autobot specifically and to remind others that Node doesn’t support proxy out of the box for its native http and https calls using environment variables. I was searching for NODE_DEBUG=’https’ commands and came to the conclusion that just using a Debug Proxy (Charles Proxy or Proxyman) is the easiest.
To setup the proxy, I used a tip I learned when I was inflicted with Netskope and they have a nice article about how to how to make development tools work with SSL interception. They have instructions for integration MITM network security with Node.JS and other tools like AWS CLI. NodeJS they mention the following which is helpful because this is how you can easily add a Debug Proxy to your NodeJS process. In my case, I’m debugging TF2Autobot trying to get an understanding of how it is working with the backpack.tf public API. Netskope explains for NodeJS the best approach is to use the Combined Certificate bundle at let Node know about it “NODE_EXTRA_CA_CERTS” environment variable. Here is Netskope’s explanation.
export NODE_EXTRA_CA_CERTS=[your CA certificate file path]
The cafile configuration property works similarly: npm config set cafile [your CA certificate file path]
The main difference between NODE_EXTRA_CA_CERTS and the cafile config property is that the former adds a cert, whereas the cafile config property replaces the certs. For those that just want to add a corporate cert to the chain, NODE_EXTRA_CA_CERTS is the easier option
https://docs.netskope.com/en/configuring-cli-based-tools-and-development-frameworks-to-work-with-netskope-ssl-interception.html
Using Charles Proxy to intercept NodeJS
To get the https traffic off my application I need to get the Charles Proxy SSL certificate. The details are explained in their SSL Proxying Documentation. I downloaded the “base 64 pem” by clicking Help then navigating to get the certificate via: Help > SSL Proxying > Save Charles Root Certificate…
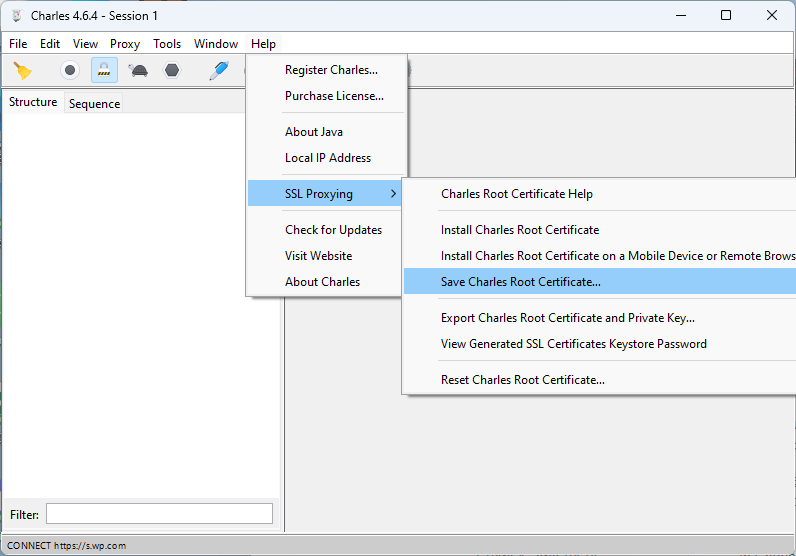
The “Save Charles Root Certificate” dialog wants a directory selected. Typically it’ll open the Save chooser in your home directory. Don’t bother trying to put it in another directory because the save dialog didn’t respect my ask and just saved it under the first spot it suggests it’ll save it. My certificate was save under my username path, i.e. "C:\Users\username\charlesProxy.pem".
Disable some of Charles Proxy Windows sniffing
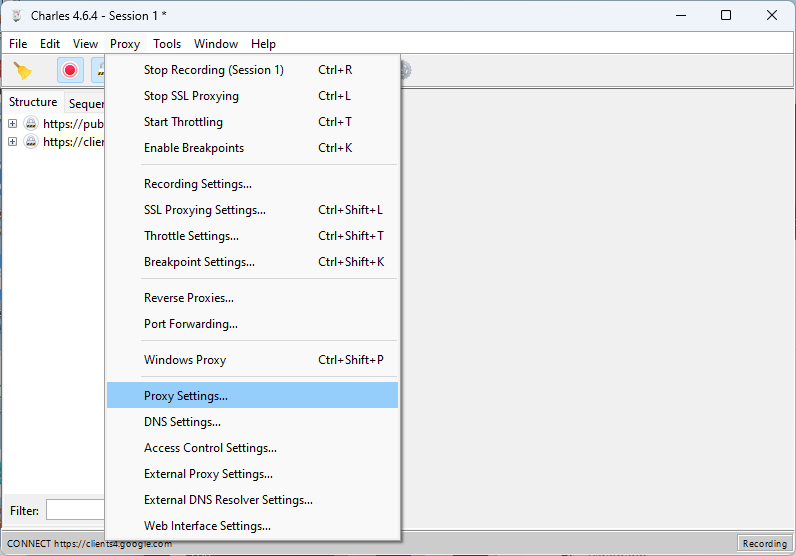
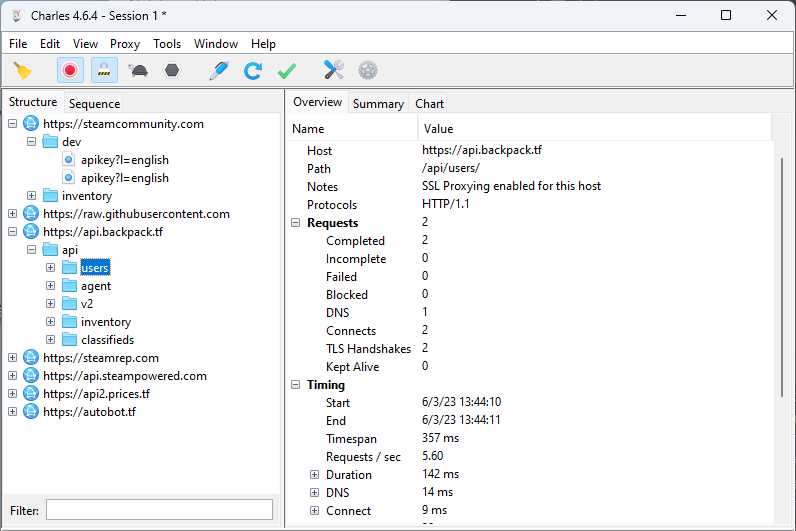
Charles is very good out of the box for windows. I found that I actually wanted to disabled the default Windows proxy. To do so I used the “Proxy” menu and then selected “Proxy Settings”. Under the Windows tab of the Proxy Settings dialog, disable “Enable Windows proxy” and “Enable Windows proxy on launch”. Since Windows Proxy was already enabled. Once I turned it off I had to restart the program to make it stop sniffing everything else. I tried to see if it would pick up the NodeJS traffic and it wouldn’t just out of the box. So disabling this feature allows the traffic to just be on the program I’m working on.

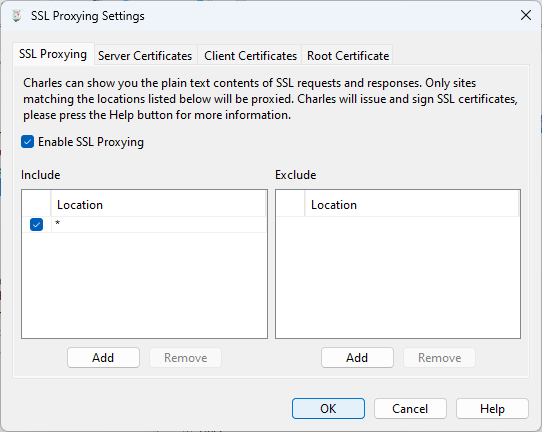
To make sure the traffic was captured, I added a wildcard match for Include Locations under the SSL Proxying Settings.
Configure TF2Autobot to use Charles Proxy
There are two items to take care of here, configuring NodeJS to enabled using extra CA Certificates and then adding HTTPS_PROXY to enable axios to pipe traffic through Charles Proxy. The extra CA certificates tells NodeJS to trust certs that Charles Proxy will create to man in the middle (MITM) the SSL traffic that is being proxied.
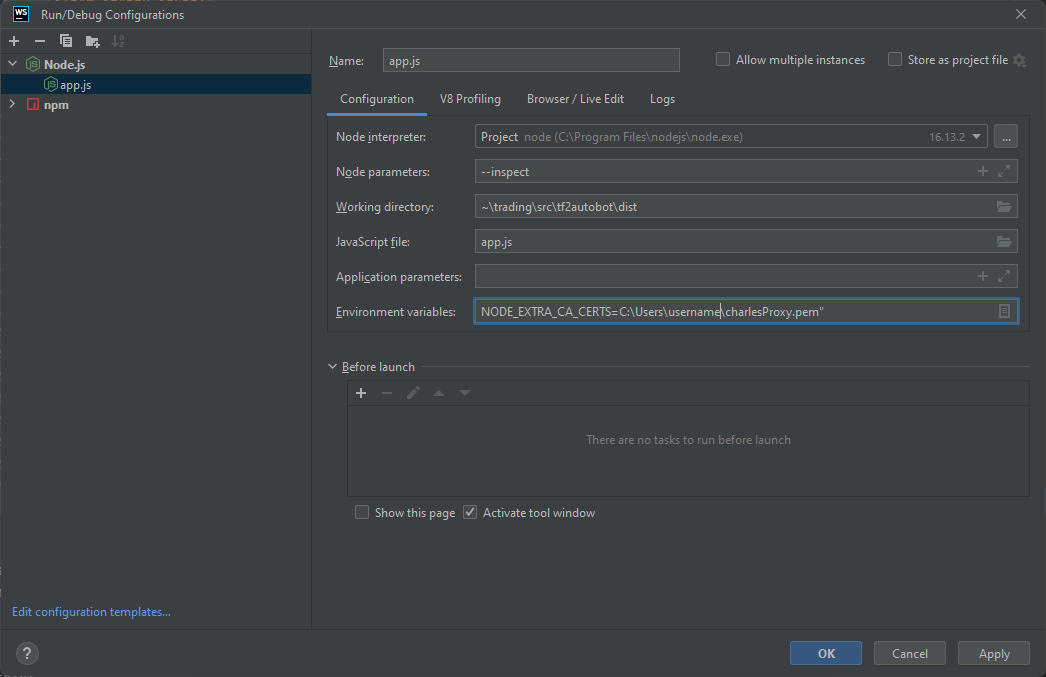
Once I had the certificate I was ready to configure my bot environment so that I may debug the traffic. I cannot put it in the .env of the bot as that only injects env into the program, not NodeJS itself. I think the ecosystem.json files are fine but I’m just running the following for my config.
http_proxy=http://localhost:8888;https_proxy=http://localhost:8888;NODE_EXTRA_CA_CERTS=C:\Users\username\charlesProxy.pem
Because I’m just running this as a development exercise in Webstorm, I’m going to set the Environment variables of my Run Configuration. VSCode has instructions that include how to modify a launch.json to include env variables.
Running and Intercepting the Application Traffic
Okay so almost ready. First I check to make sure Charles is ready by ensuring the red record button is enabled, the pad lock icon is enabled (SSL intercept), and I click the broom icon to clean out any old session stuff.

With the proxy good, I prepare the code with npm install and npm run build. Then I start the bot with the configuration that includes the CA bundle variable and proxy settings and traffic can be reviewed.
Conclusion
I enjoy Charles Proxy for it’s inexpensive license and feature set. Others may prefer tools like Postman or Proxyman. If you’d like to apply the techniques described in this article the primary difference will be setting up Postman to Capture HTTPS traffic or reading up on how Capture HTTP/HTTPS traffic from NodeJS via Proxyman.
PS AWS SDKs and CLIs + Netskope
Netskope has a script which they lock behind a support login which I believe does SDK and CLI specific CA certificate bundles like in the CLI specific option of ca_bundle however I found, as mentioned in the docs, that just setting the AWS_CA_BUNDLE environment variable is much more efficient to get it to work for Amplify CLI, CDK, and any derived tools that use AWS SDK. Make sure you point it at the “Combined Certificate Bundle”.
Fixing Wrong Line Numbers While Debugging Tests Using Jest, Next.js, and Typescript
I was trying to debug some /pages/api functionality from /pages/api/__test__/my.test.ts but the debugger kept getting the wrong line numbers.
I ended up adding configuration as indicated by Prottoy2938’s comment about Testing with typescript + jest + ts-jest. The configuration is very similar to Next.js Setting up Jest (with Babel) instructions with some additional ts-jest setup.

Publishing Software
I published two pieces of software I had been working on recently. They are both related to consuming WebSocket and written in TypeScript.
Joe's Socket To Interface Utility
This utility is to help discover a common interface from object sent over
a WebSocket pipe.
Joe's WebSocket Manager
A simple interface to connect to a WebSocket and receive an event
when messages are pending.
The WebSocket manager has been used for some time in a side project and is very solid. The Socket To Interface Utility was a quick project I did yesterday to capture a single interface over a disparity of messages that start similar at the root but towards the leaves are very different.
I hope these are useful to someone. Enjoy!

Converting Streams of JSON Data to a Typescript Interface
If MariusAlch were on twitter, I’d @ him and say, “Thank you so much for your useful json-to-ts utility!”
Json to TS converts JSON to Typescript interfaces. It’s especially useful because it converts arrays of different sets to a unified interface. I used it to catch messages of varying payloads from Backpack.tf’s websocket and create a nice common interface for the messages. The payload are mainly homogeneous near the root of the object but it’s somewhat scattered towards the leaves. You can see from this example backpack.tf websocket payload how dense the data can be.
My utility does a deep examination of any messages’s structure and simplifies it to an abbreviated version which I called the “Shape” of the object.
type Shape = {
  [key: string]: string | null | boolean |
                 number | Shape[]
} | string | null | boolean | number
You can see how the type is concise and sufficient for generic JSON message Interface detection. A sample of the tests are as follows.
expect(deepShape({a: "aValue"}))
        .toEqual({a: ""});
expect(deepShape({
                   a: "aValue",
                   numbers: [1,2,3]}))
       .toEqual({
                   a: "",
                   numbers: [0]});
expect(deepShape({a: true}))
        .toEqual({a: true});
While collecting messages, I take a hash of the Shape and, if I get a new sample, I add it to my collection. Once I’ve taken a sufficient sampling, the software assembles all the messages into an object that has my root type as the key and a vector to hold the samples. I pass the object to JsonToTs() and, “huzzah!”, out pops all my interfaces with optional types nicely intertwined.
const existing =
  await fs.promises.readdir(shapePath);
const messages: {BPSocketEvent: Shape[]} =
  {BPSocketEvent: []}
for await (const file of existing) {
  const shapeFilePath =
    [shapePath,file].join(path.sep);
  const entry =
    await fs.promises.readFile(shapeFilePath);
  messages.BPSocketEvent.push(
    JSON.parse(entry.toString())
  );
}
const interfaces = [];
for await (const typeInterface of JsonToTS(messages)) {
    interfaces.push(typeInterface);
}
console.log(interfaces.join('\n\n'));
So thank you very much MariusAlch!
